Oriental Cherry & Walnut Box.

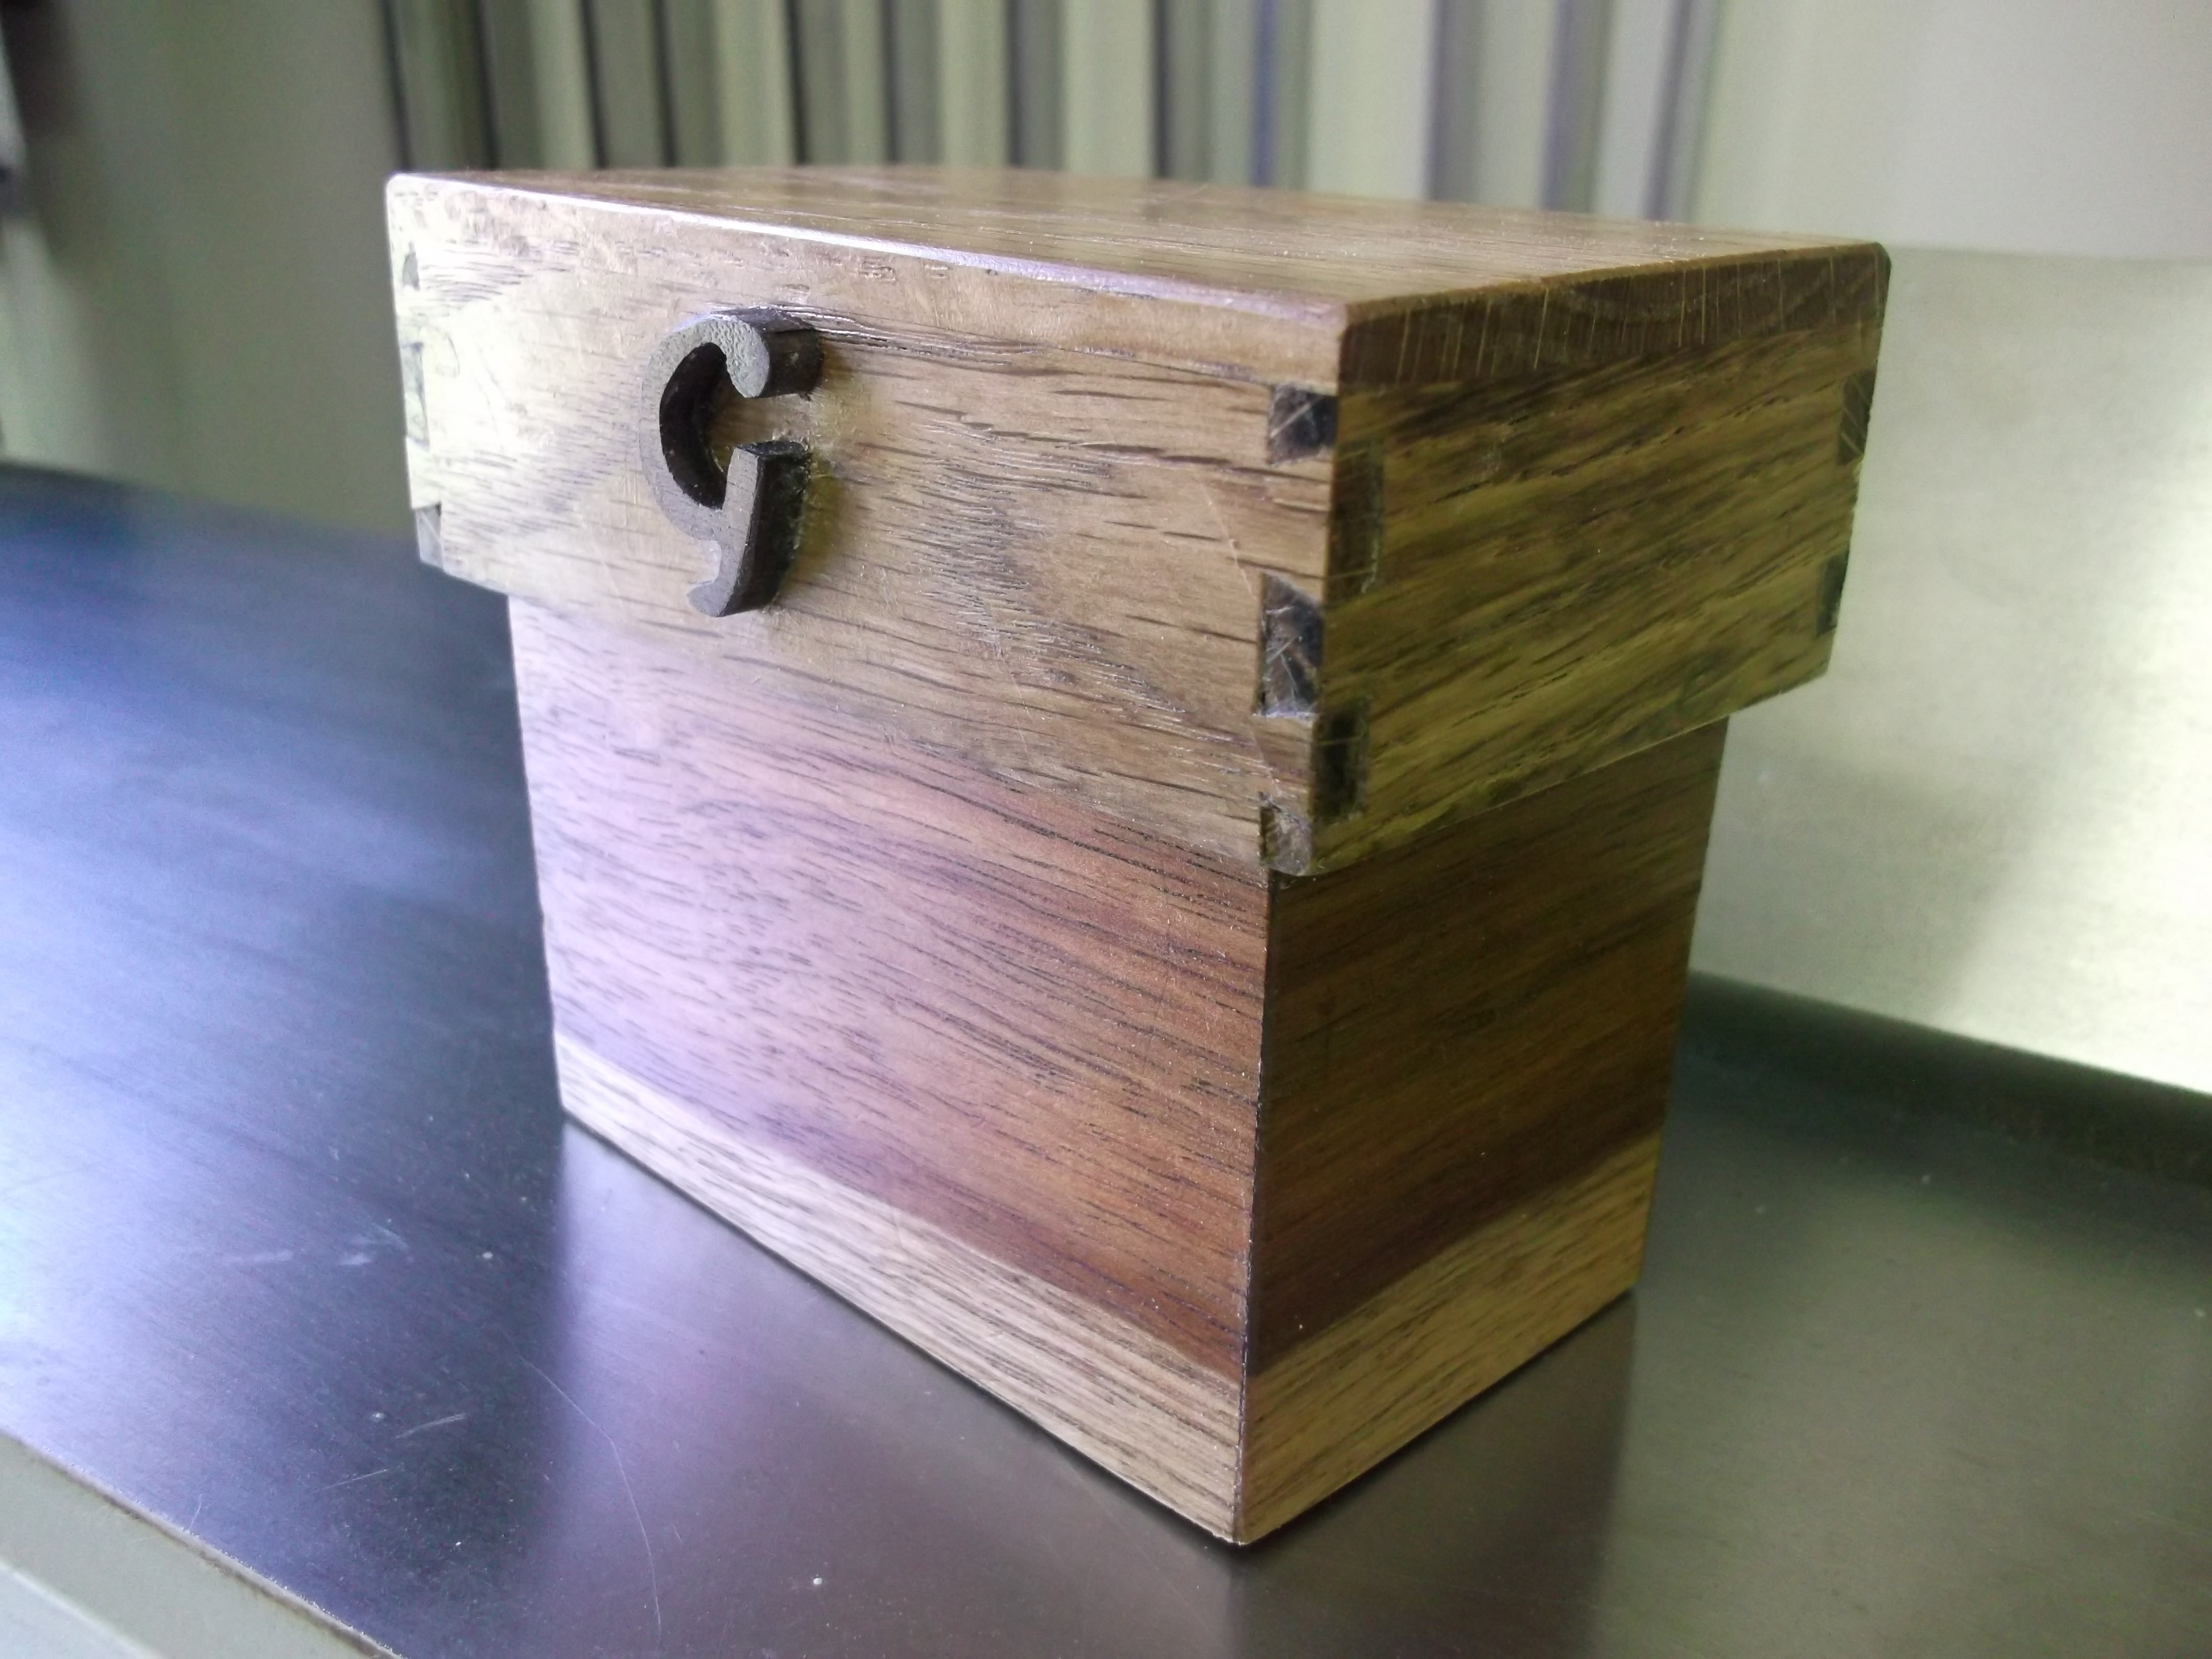
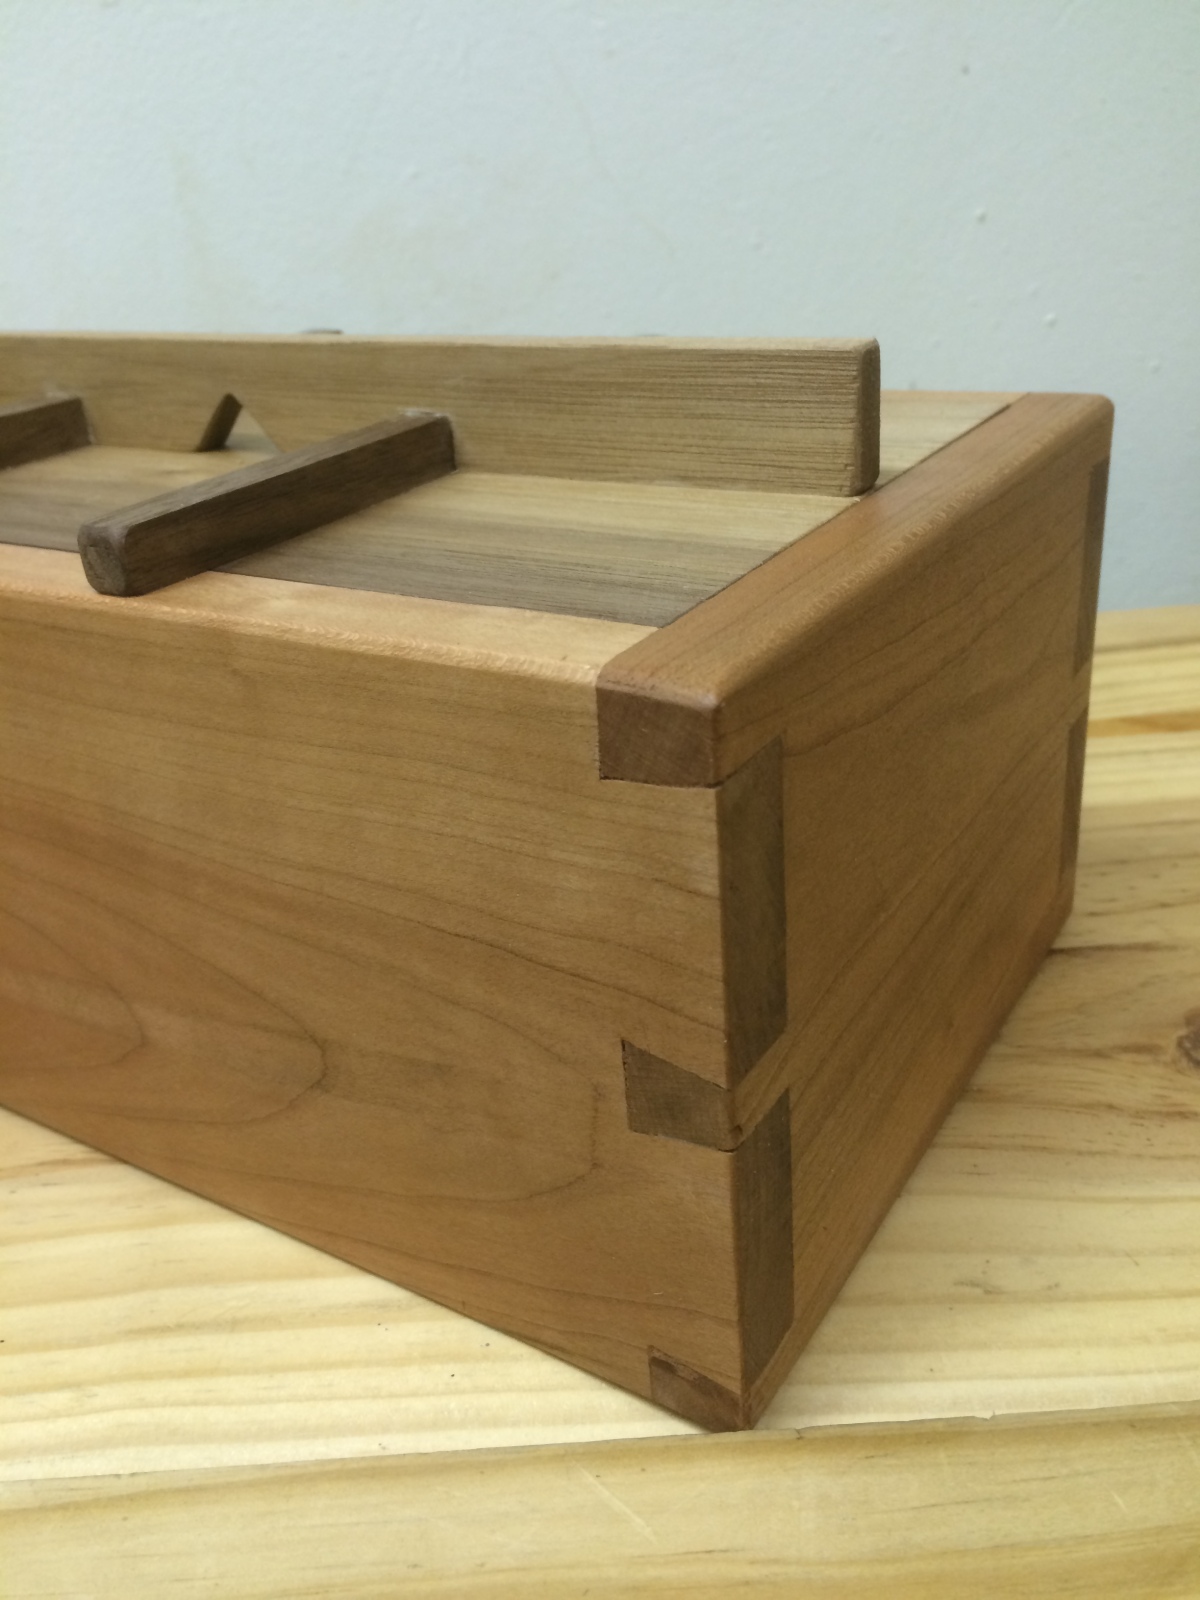
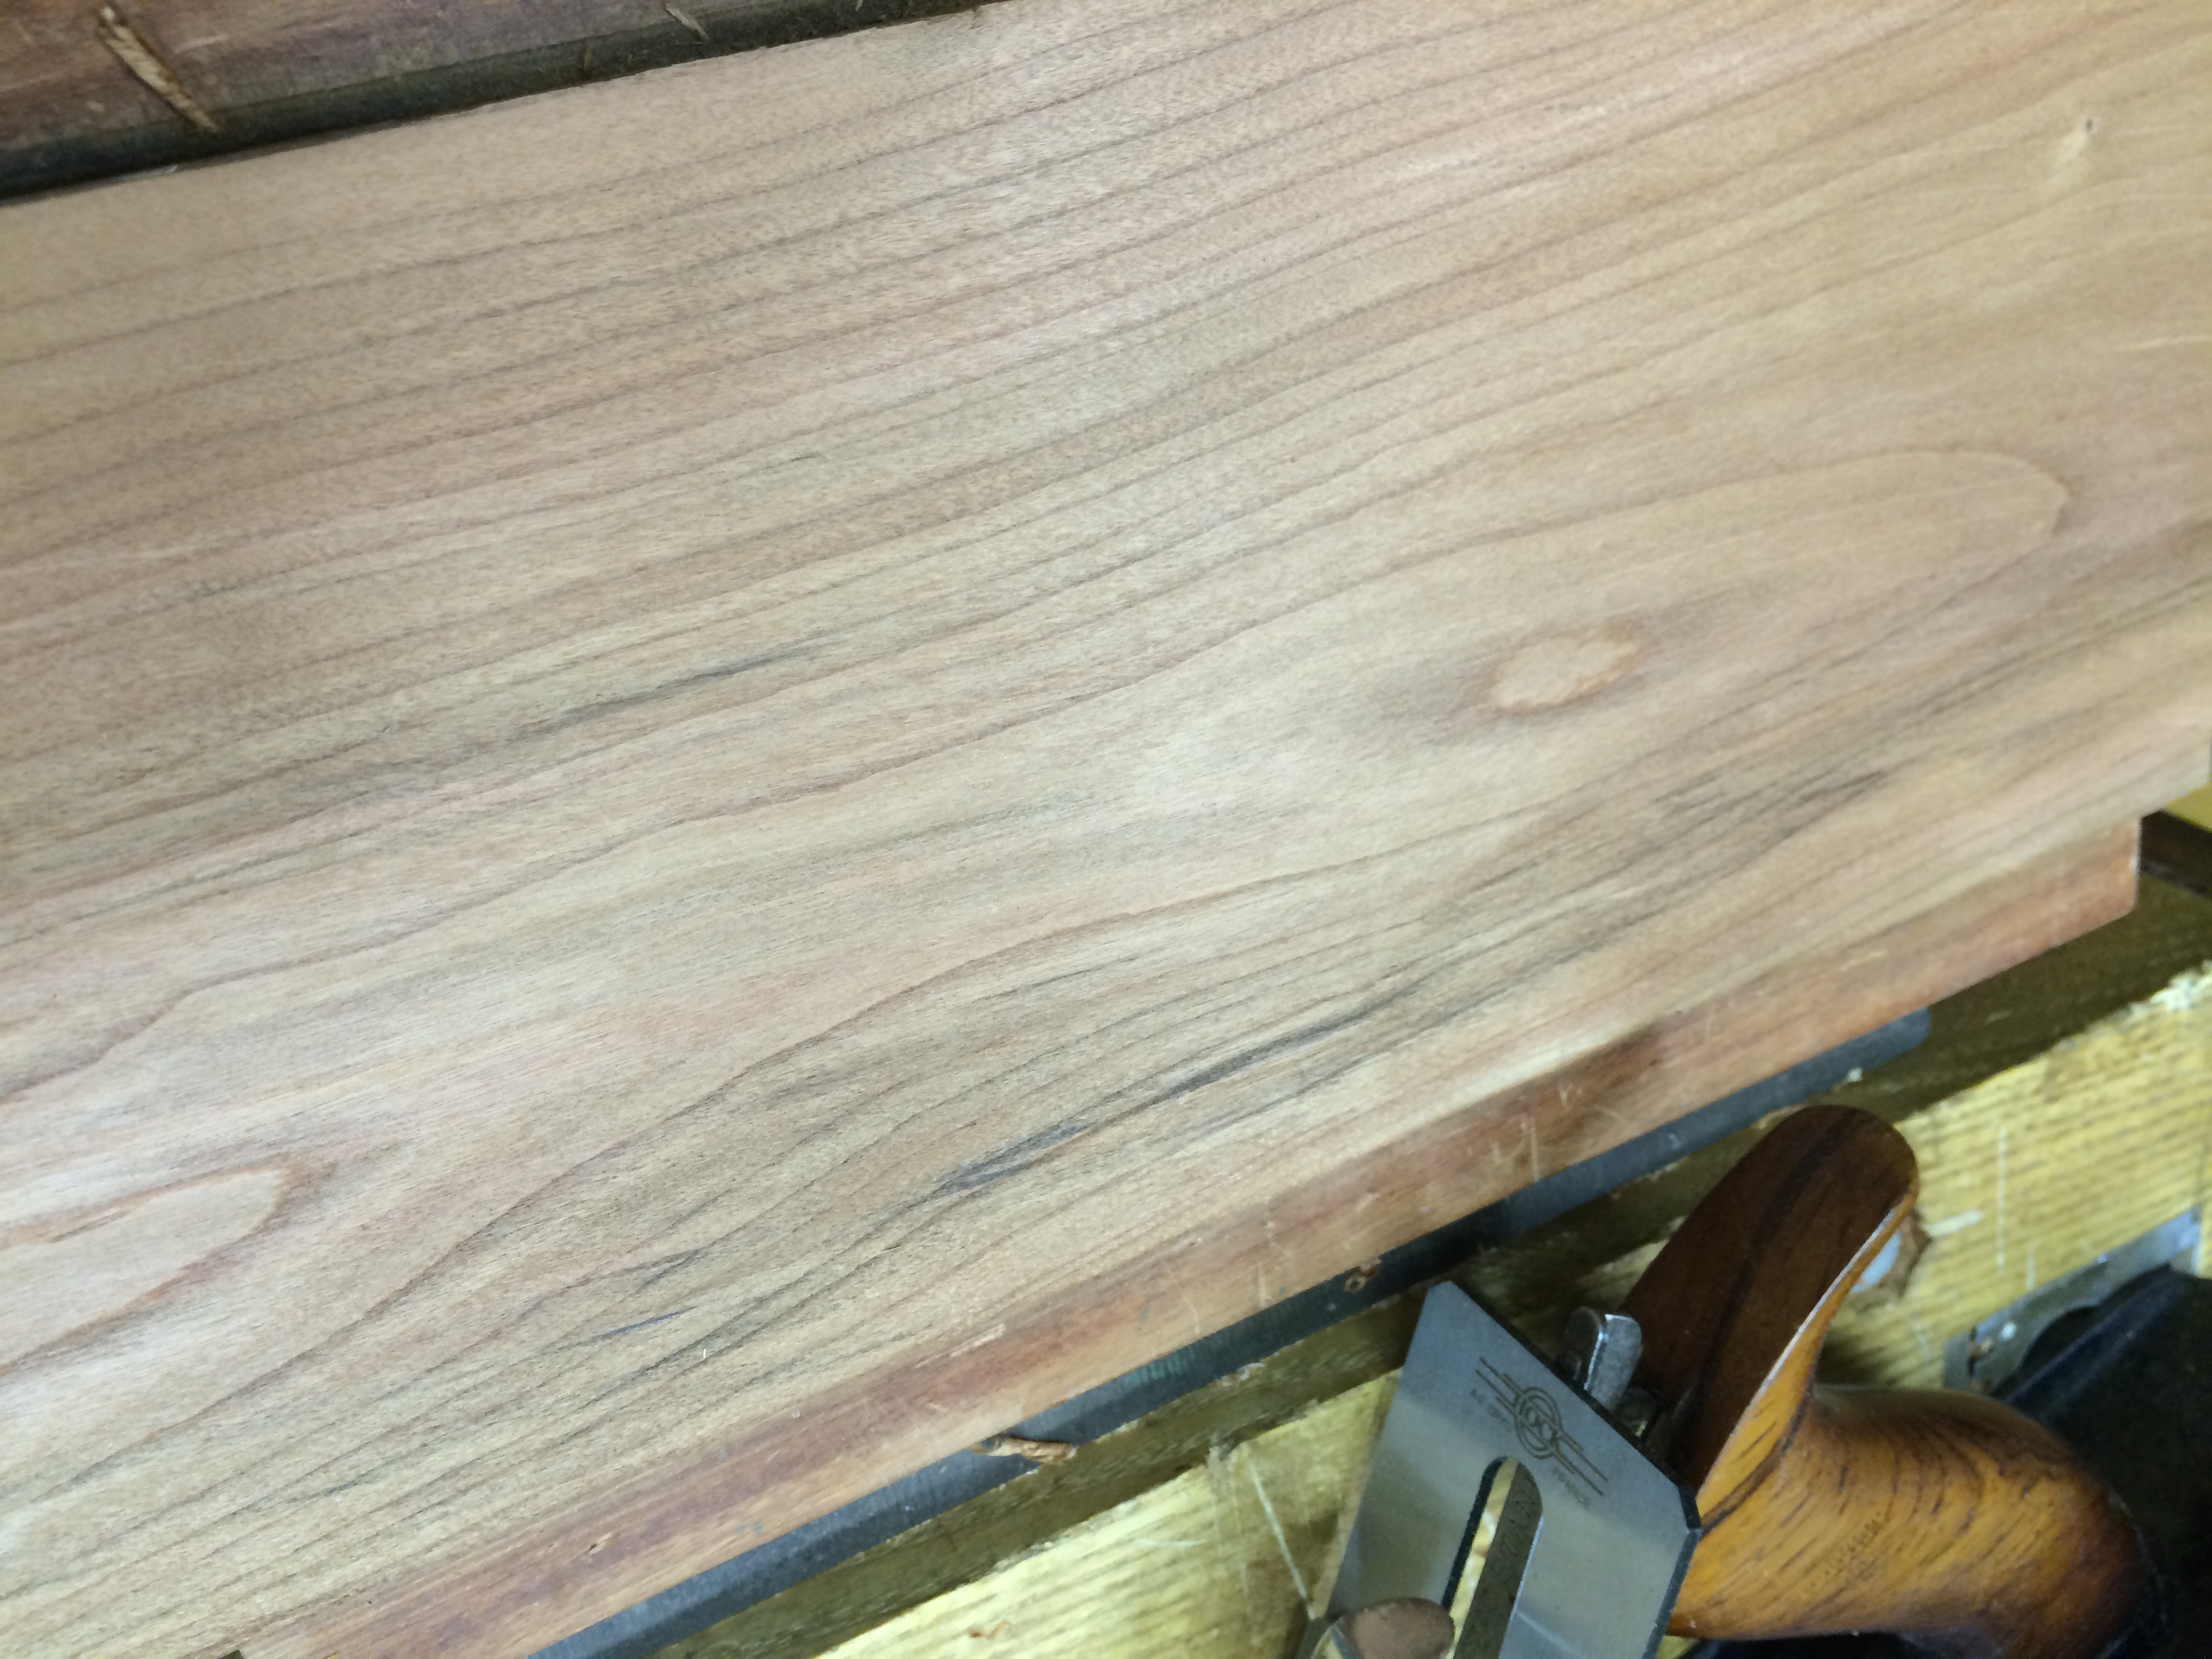
I made a 300 mm x 160 mm x 110 mm box out of 16 mm thick Cherry for a gift.  I used through dovetails for the box.  The lid was 11 mm re-sawn book matched Walnut.  The lid design evolved on it’s own to become rather Oriental in looks.  It’s the first time I’ve worked with Walnut, and I really enjoyed planing and chiselling it as well as the beauty of the grain.

IMG_2646IMG_2647IMG_2650IMG_2649IMG_2648

Up to this point my sawing wasn’t progressing as I’m mixed dominant (right hand left eye), but after reading Jeff Miller’s’ “The Foundations of Better Woodworking,” I improved. Basically I twist my body to the left while holding the saw in my right hand.  This gives my dominant left eye a better line of sight.

IMG_2658 IMG_2655 IMG_2659

The bottom was grooved to fit a hardboard base which was covered with a leather-type paper used by bookbinders.

IMG_2696

The lid seats in side the box so I made a template out of hardboard first, which was then used as the base for the leather-type paper.  Two Walnut strips were stuck onto the top of the lid to prevent it from falling in.

IMG_2703 IMG_2706 IMG_2719

I added a longitudinal piece to act as a handle and finished it with Danish oil & wax. The long side has allowance for seasonal wood movement and the two cross pieces are only glued in the central area for this same reason.

IMG_2730 IMG_2731 IMG_2733 IMG_2734 IMG_2739 IMG_2740

George’s Box

DSCF0436DSCF0444

I had a request to make a small box (70mm x 50mm x 50mm).  I read through my various books on boxes for inspiration, but a lot were veneered with no fundamental joinery used and I also wanted something original.  So with that in mind I decided on the box above.

20131111_222818

I used Kiaat for the box and used a mitre joint with a hidden biscuit for strength.  I used the wood from one plank so the grain is continuous all around the box.

20131112_21551120131112_21563020131112_21301420131112_213022 

Apart from the radial arm saw used to cut the mitres and the biscuits to join them, the entire project was made with hand tools.

IMG-20131119-WA0011 IMG-20131119-WA0015

For the lid I used 4.5 mm thick white oak which was joined using hand cut through dovetails.  Because I kept changing the design, the box ended up looking top heavy.  It was also not fitting snug to the box, so in order to solve both these problems, I placed some oak spacers inside the lid which both raised the lid for better proportions, and gave it a snug fit.

DSCF0441 DSCF0443

The letter “G” was cut by scroll saw by my friend Astrid because my attempts looked like a bad case of Parkinsonism.  The finish was Danish Oil and wax.

DSCF0447

Box in Partridge Wood & Oak

Completed Box before finish.

Continuing with my love for making boxes, I made this from scrap pieces of Partridge Wood (Panga Panga) and White Oak.
The two short ends fitted into rabbeted sides and 3 nails were hammered in for support as well as looks.
The bottom was recessed into a rabbet and ship lapped.  There should be no significant wood movement on such a small piece so the ship lap was more for effect.
The Partridge Wood top was re-sawn and book matched.  Because it is an oily wood and thus difficult to glue, I first used a 2 part epoxy to glue the two pieces together.  Then I added two butterfly inlays for added support.

Completed Box after finish-those aren’t feet, they’re my dog holes.
I added a photo before the finish was added to show how the finish brings out the beautiful grain.  Finish used was the old faithful Danish Oil and wax.  Not shown is how the lid fits in place.  I used a shoulder plane to cut a custom rabbet all around to fit the not-so-perfectly-square box without rattling around. 

It’s now the new home for my Record 043.

Box in Silky Oak.

This one of those projects that you should never show anyone, let alone publish it.  Everything that could go wrong did. And that’s exactly why I’m posting it.  It started out as another in-between-project project and a practice for hand cut dovetails.  I also wanted to test the Silky Oak, as it was very cheap and not the most popular wood for furniture making.  I saw my woodworking hero Paul Sellers make a similar box on a recent blog.  He probably finished it in 2 minutes and 48 seconds.

Up to now I’d been cutting dovetails with softer pine which allows for a tighter fit. The Oak was not as forgiving so even thought the dovetails looked super tight (see below) on dry assembly, there was no glue space, so the gluing up was a nightmare.

In the ensuing panic I didn’t square up the box properly and that was a problem when fitting a lid that slides in a groove cut into three sides of the box!  But it was good practice, because after all woodworking is mainly about problem solving.  I raised the panel by hand-marking gauge and #5 jack plane.  I cut the grooves for the lid with a Record 050 plough plane.  And I had fun.

Silky Oak is easy to work in terms of plane and chisel,  but there is a fair amount of tearout.  I found the grain very busy and would therefore personally not use it with bigger pieces.

Toolbox for Leathercraft Tools.

In between projects and needed to practice my hand cut through dovetails, so I made this box to keep my leather-crafting tools.  I used South African Pine, which has a lot of knots but  is relatively cheap and easy on the tools’ edges.  I decided to make small trays of plywood that  stack on top of each other, as there are quite few tools and I didn’t want them to bang against each other.  The lid was frame and panel, the frame was mortice & tenon and the panel made from a local hardwood called Kiaat, was raised by hand with a Stanley #78 rabbet plane and a #5 Jack plane.

I cut the dividers for the tool trays with the help of my Bridge City Tools KM-1 Kerfmaker.  The next sequence shows the trays being stacked from the bottom up, first empty and then with the tools in place.  Finish with Danish oil and wax.


For the tray bottoms, some I left bare, others i covered in Skyvex-a nice thin imitation leather that bookbinders use, and some I stuck on some veneer offcuts.

Mission Sliding Bookstand

One of my more immediate goals is to master some important skills as opposed to completing a project.  These include pins-1st through dovetails ala Glen Huey (Cheating at Hand-Cut Dovetails); and sawing straight (this should precede the dovetails-see what Frank Klausz has to say on this!) as well as mastering the FMT jig.
Yet over the December holidays I decided to do a quick and small project just for relaxation.  I picked this project because I have a place for it, and I want to get some practice using my Peart’s Punches.  I also decided to use this small & quick (read easy) project as a gateway to start using hand tools predominantly in my workshop.
By the way, you don’t always make stuff for a reason.  I just have to make a Shaker bench (the variation with the backrest) because it is a very beautiful piece for me even though I have absolutley nowhere to put it.

I chose Cherry because I had small offcuts.  The plugs are Rhodesian Teak. I enjoyed doing the project because I love woodworking, for no other reason. Small projects are neither quick nor easy.  When I told my friend how I battled with this piece, he replied without hesitation “There is no such thing as a quick project.”
Lesson learnt.  The Peart’s Punches are very clever, but I battled to get them in a straight line. Next time I need to tape down a fence on which to lean them against.  Rounding the corners without a rasp was not fun. Working with small pieces and clamping small pieces is in many situations more difficult than working with larger pieces
The rebate was done on the router table.  And on this subject, I read a lot about predominantly hand tool workers who justify one or three power tools that they cannot do without.  Most include a bandsaw and almost none include a router table.  If I could pick only two power tools in my hand-tool workshop they would be the thicknesser planer and the router table.  The bandsaw is great but comes in a distant third before the large belt sander.

Back to the project.  I did tiny tenons as per the plans on the bottom rails and finished it with Danish Oil and wax.  The friction sysytem works very well, so you can have one or many books on the stand and they will never fall over.
Another way to approach this project is to make up 6mm MDF templates of the uprights & legs.  Then with a pattern router one could cut multiple pieces in a flash.  The rails are easy.  This doesn’t sound like a hand tool woodworker now, does it!